 Help Center
Step into the world of NFT creation with confidence using our self-service tool, JPG Studio.

Discover the Power of JPG Studio: Unleash Your Creative Potential with Effortless NFT Creation
Step 1: Download Desktop App
Download Mac, Windows & Linux version here.*Note: for Mac, security access permission is needed to be granted before opening the app. Head to settings > Privacy & Security > ‘Open anyway’ for JPG Studio

Step 2: Generate API Key from JPG Store
Generate User API key from Profile settings page
https://www.jpg.store/me/settings > Preferences > API Key > Copy API key

Step 3: Paste API Key generated from JPG Store

Step 4: Create New Project
Create new collection and upload your NFT layers artwork from your device (local machine)


Upon layers folder upload, the artwork layers (aka traits) will be displayed on the left panel

Step 5: Set layer relationships and rules settings
Upon layers upload, you are able to set certain rules and force relationships in the ‘Studio’ tab before you generate your NFT collection.

For example: I want to set a 15% rarity on the Bottom Lid trait and White Eyeball trait - you can custom assign this.

Within each trait, click on the “4-square-icon” to open up table view of each trait. You can choose to enable/disable certain traits, set limit amounts, rarity percentage, lock rarity and change trait name.

To set force relationships or avoid certain traits combination, you can click on the ‘flowchart-icon’ of each trait. This will open up a flowchart diagram in the middle window that maps out the trait relationships. On the right panel, you can preset traits to combine or avoid traits to form together.
Step 6: Preview Single NFT
After setting your traits relationships and rules, you can preview an NFT generation. You can preview as many times you wish, a new NFT artwork will generate each time. If you see an NFT image you like, you can either save it as an image or save the NFT as a predefined. This means that the saved predefined generation will be included in your NFT collection.

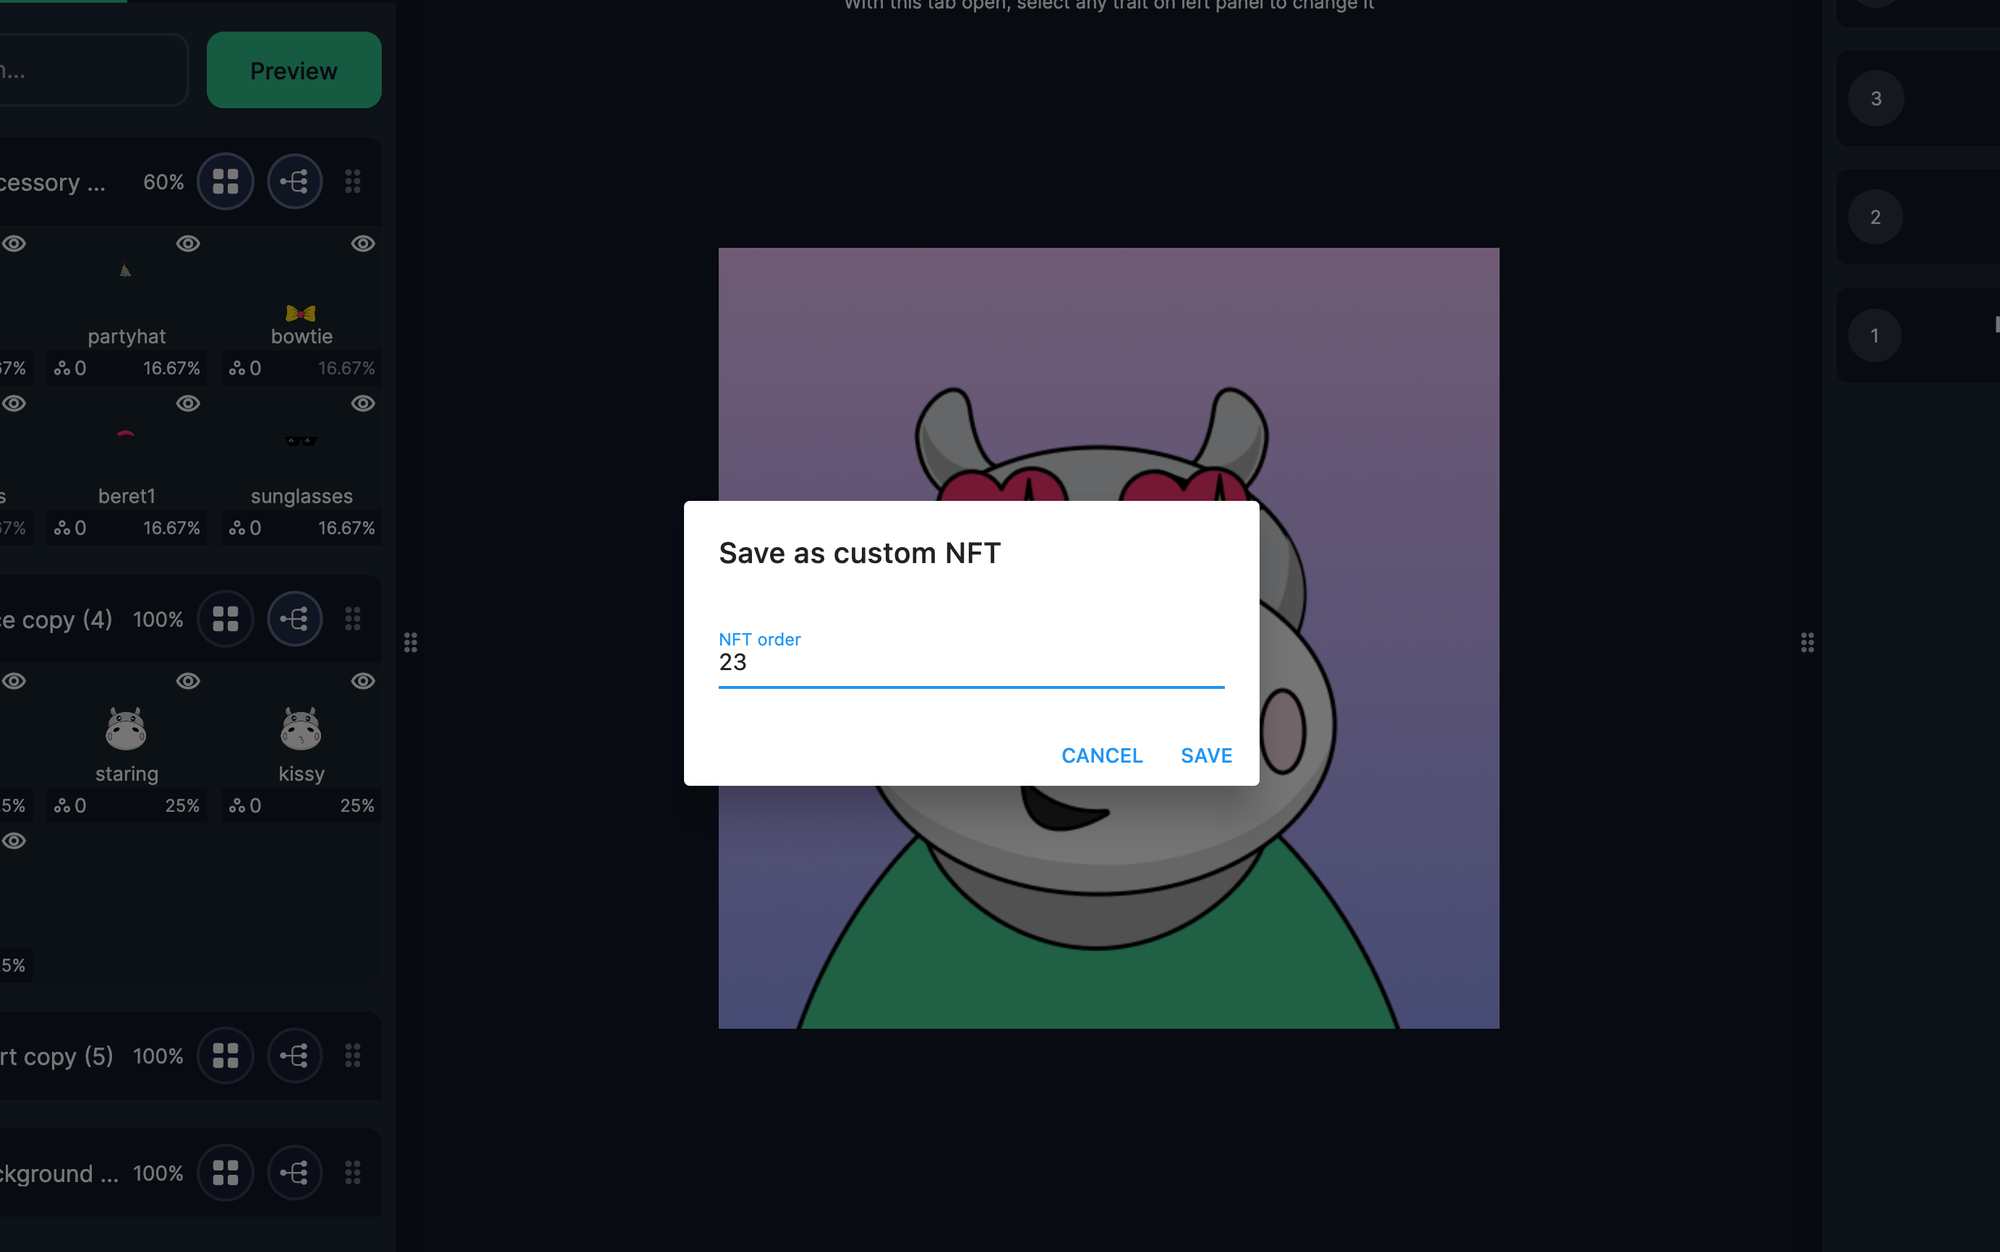
Once you save a predefined NFT, it will show up in the “Custom NFTs” tab.

Step 7: Generate your NFT Collection
Once you’re ready to generate your entire NFT collection, head to the ‘Generate’ tab on the left panel.

Generate Count = the NFT supply. For example, generate 100.
Initial Count = the starting number count for the collection. For example, I want my first NFT generated count to be #1. (you can set the count starting from #10, #11, etc.)
Then, click ‘Generate Collection’ and you will get all the NFTs for your collection. Within the preview, you will also see the 2 predefined NFTs that were set.

Step 8: Set your IPFS Provider
Now all your NFT images have been generated, you need to host them under an IPFS storing method. With this, you need to set up with either Infura or Pinata.
Click on ‘Upload’ tab on the left panel, and integrate your IPFS provider by inputing the Autorization token.
You can find this token:
- For Pinata:
- Create a Pinata account, head over to Pinata/ Developers , then, create a new key and copy paste the JWT token into JPG Studio.

- For Infura:
- head over to Infura, create a new account, then click ‘Create New Key’
- Make sure to set the network as ‘IPFS’.


Step 9: Upload Images to IPFS
Now, select your IPFS provider and click ‘Upload’ to host your NFT images to IPFS.

Step 10: Choose a Collection and Sync Metadata
To upload your NFT metadata to a collection, you should have your collection set up prior. If you do not have a collection yet, you can set it up here, under ‘Collection Creation’.
When you’re ready, select the collection you want to upload your NFT metadata to on the top right dropdown selection, then click ‘Upload’ on the bottom right to sync the metadata to the selected collection.

Final Step: Collection Dashboard
From here, you'll be able to see your collection and make edits such as: fund distributions, royalty settings, mint phases, your asset creations and more!

And there you have it! Your NFT metadata have been automatically synced to your selected collection, with the indication ‘Metadata uploaded’. You're a JPG Studio Pro!
